
How to Glue Table Tennis Rubber - Clean Results with Water-Based Glue and a Paper Spatula
Sooner or later, if you buy a new rubber, you will want to glue it on yourself. You can have a club or shop do it, but once you know the knack it takes about 30 minutes at home and the result is clean. Here is how I glue table tennis rubber, from start to finish, with photos.
There are two key points: use water-based glue, and use a spatula made from the rubber’s cover paper instead of a glue sponge.
Prepare
Scissors, water-based glue, 2 paper spatulas
Squeeze the glue
In a spiral on the rubber
First coat
As thin as possible
Second coat
A little thicker, even
Coat the blade
Spread the leftover glue evenly
Dry completely
Until it turns clear
Attach
Center on the handle, then roll
Trim
Wet the scissors, follow the edge
Final drying
Done!
Why glue your rubber yourself
- You can replace it exactly when you want, without waiting for someone else to do it.
- There is no gluing fee on top of the price of the rubber.
- You choose the type and amount of glue, so the rubber and blade wear less.
- Once you have the knack, around 30 minutes is enough. Most of that is waiting for the glue to dry.
Check these before you start
- Clean the blade surface first. If residue from the old rubber and glue is left, the new rubber will not lie flat.
- Which side the rubber goes on is up to you. I use the side with the blade’s logo as my forehand, and a black rubber on the forehand. Some people say black has more elasticity and goes further, but the dye colour does not change performance. The real reason: on a black forehand it is easy to see with your eyes when the surface has oxidized and turned white, and the forehand rubber is the one I replace most often.
- Peel off the protective film (cover) just before you glue. If you peel it off early, dust settles on the surface.
- Work at a flat desk, and even with odourless water-based glue it is best to do it in a ventilated place.
- Spread newspaper or paper over the desk to make cleaning up easier.
1. What you need to glue rubber
Scissors and water-based rubber glue are the basics. I do not use a glue sponge. The reason it is not needed comes up in the spatula section below.
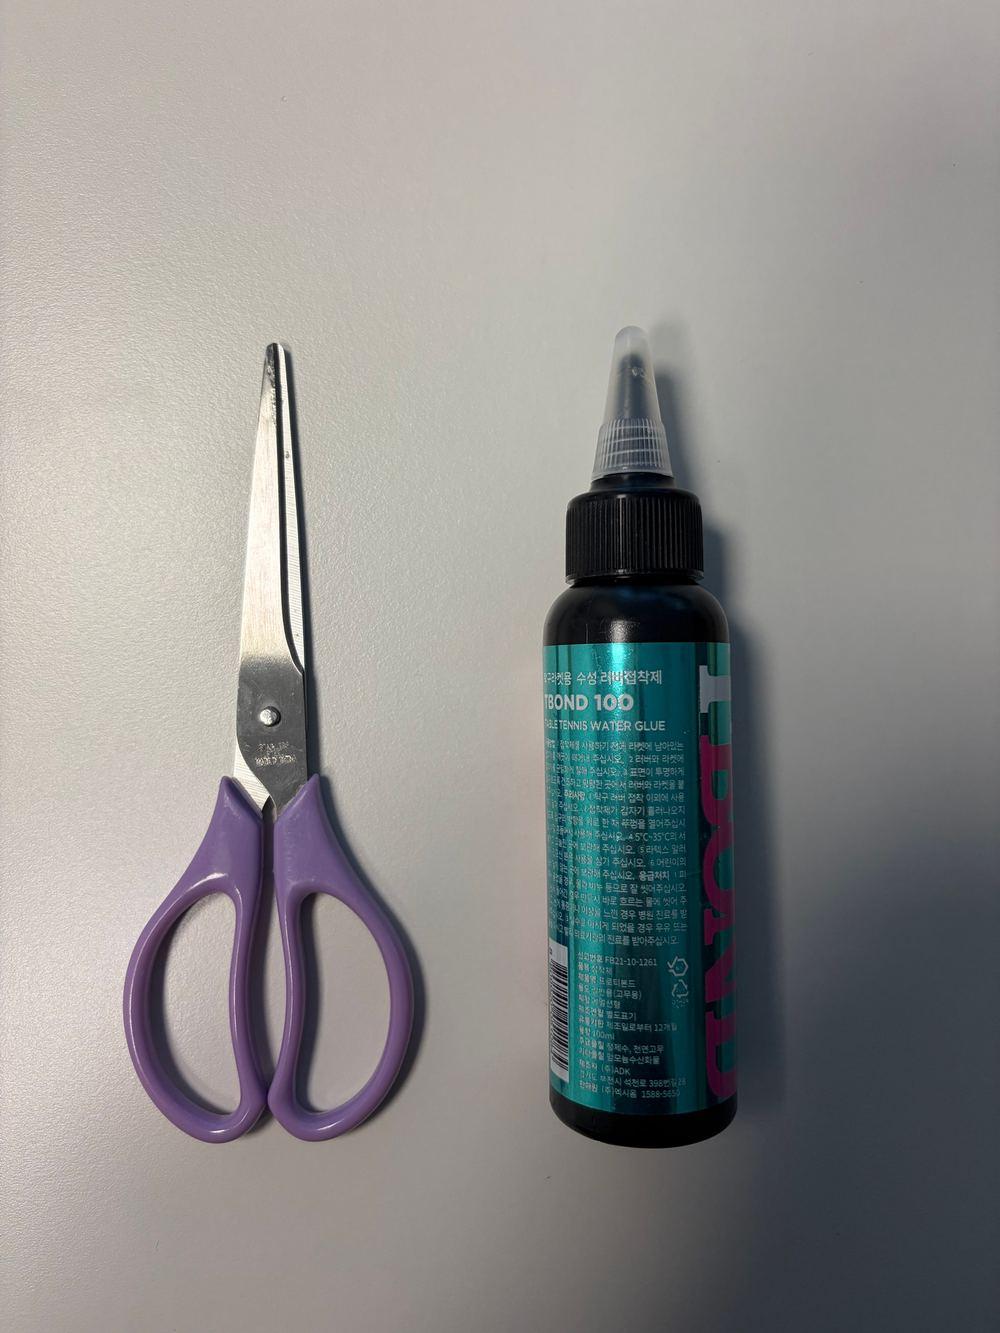
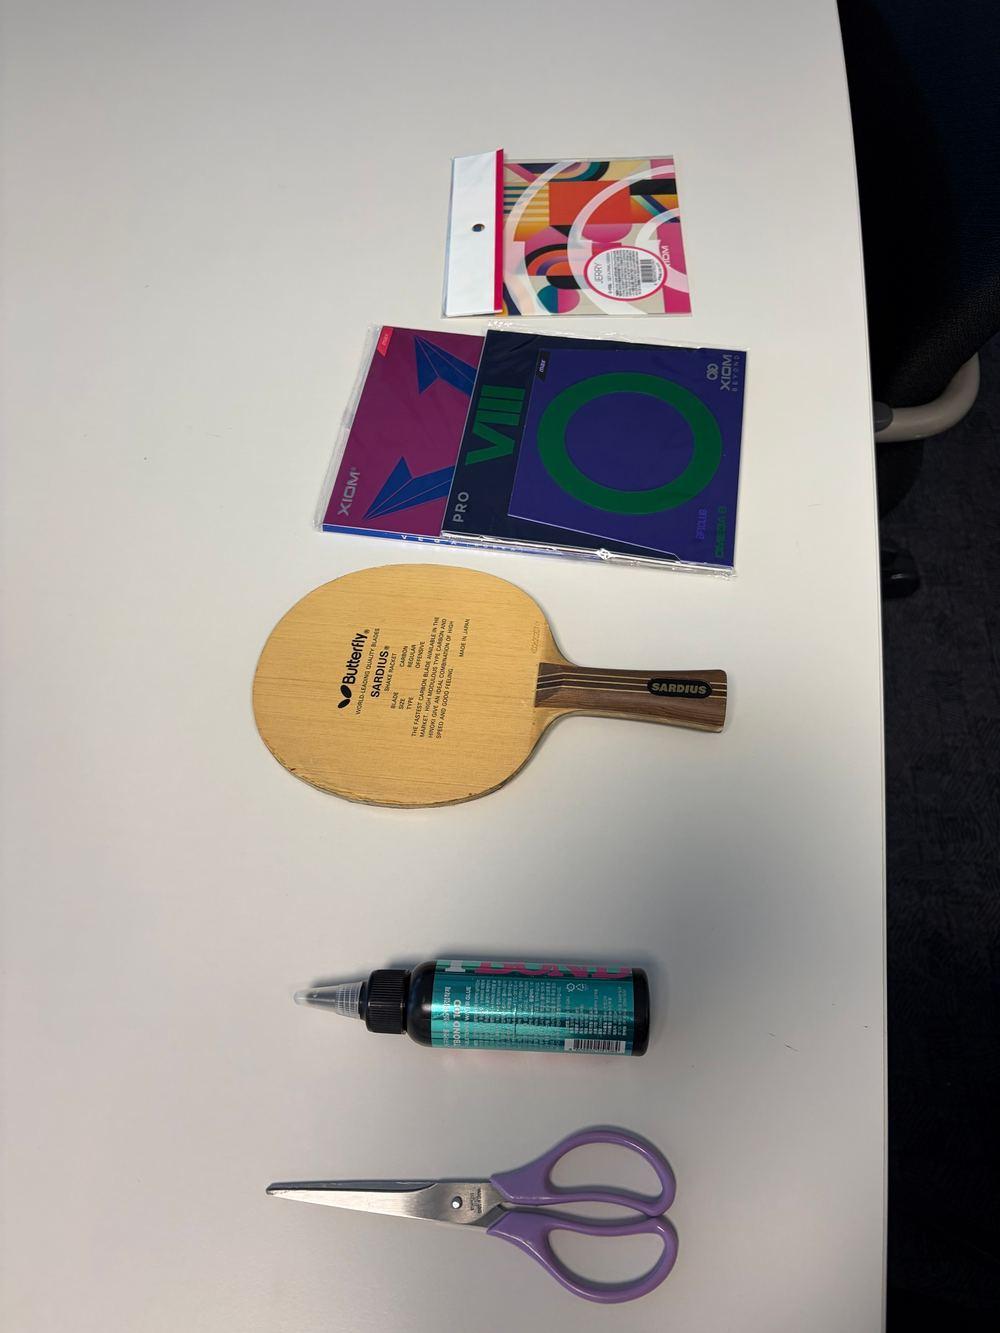
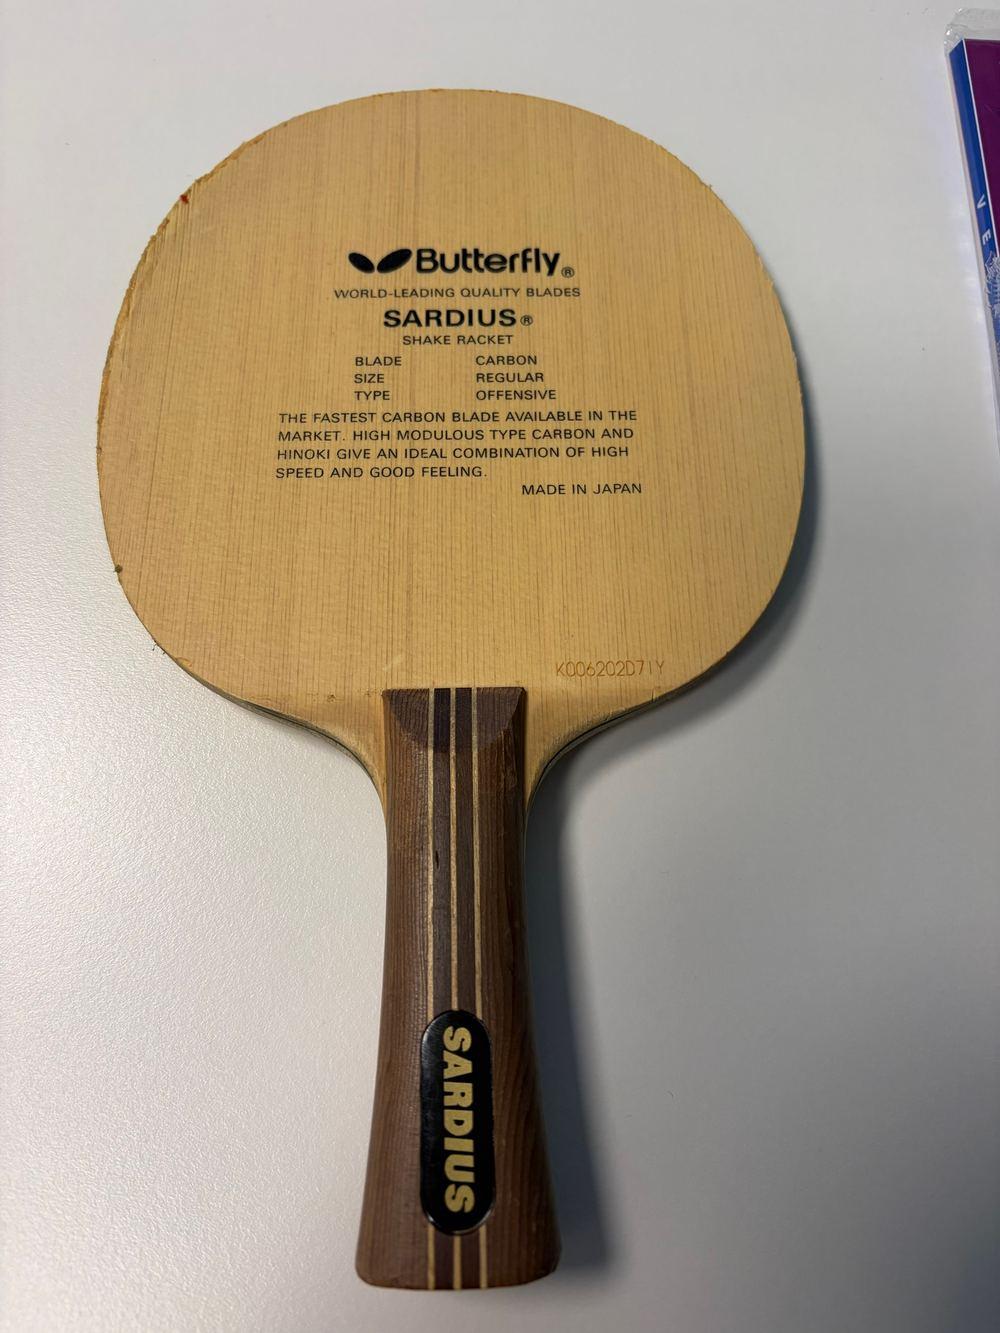
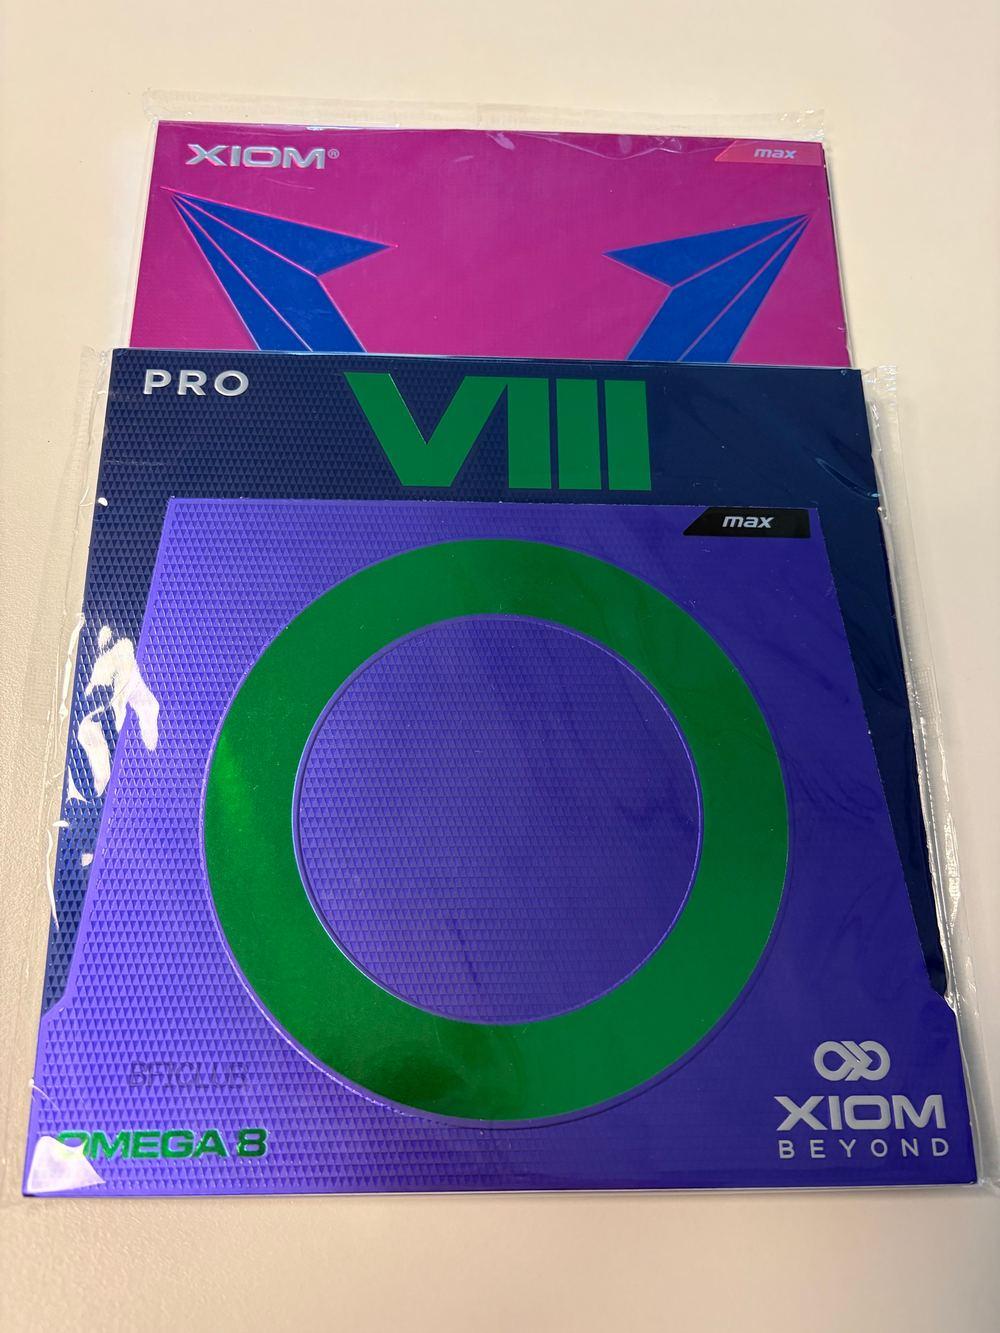
In addition you need the racket (blade), the rubbers and protective film.
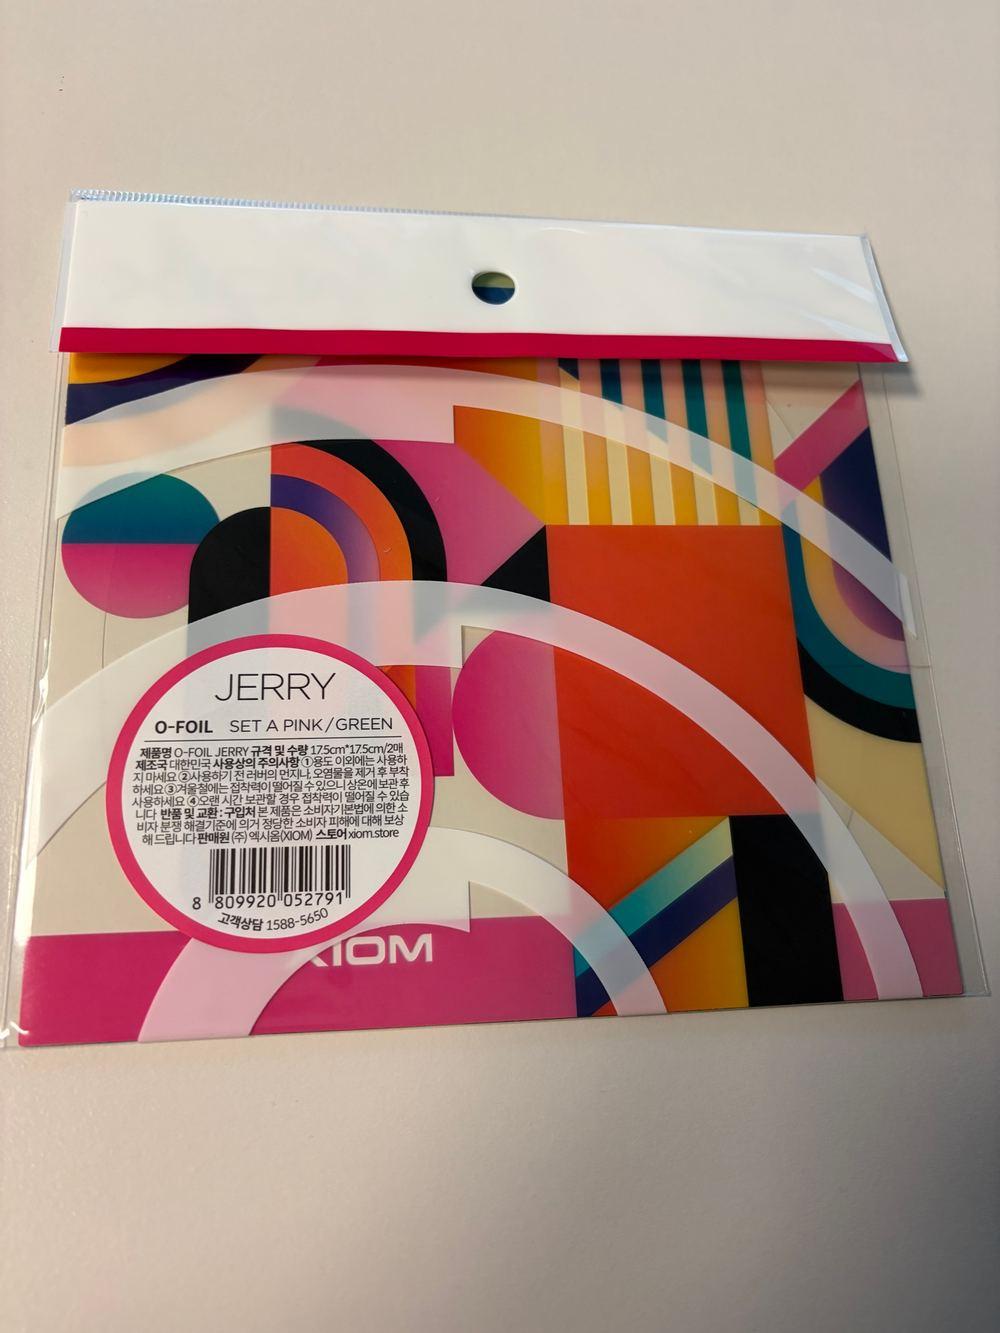
Protective film (O-FOIL) is a film you stick on the rubber surface. I play for only about an hour once a week, so I use it to keep the rubber from oxidizing while I am not playing.
2. Make glue spatulas from the rubber’s cover paper
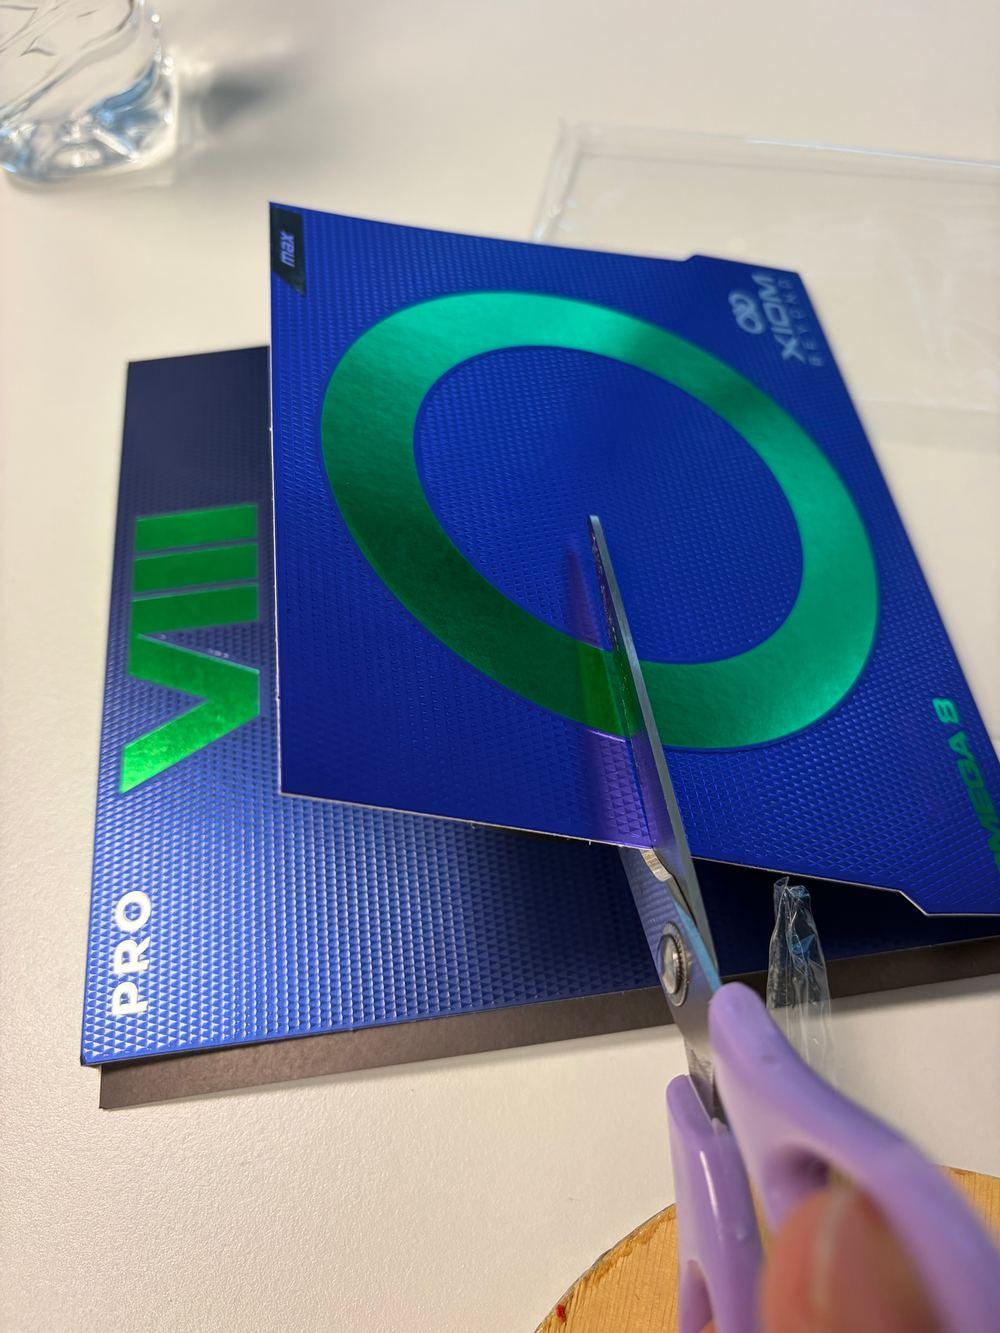
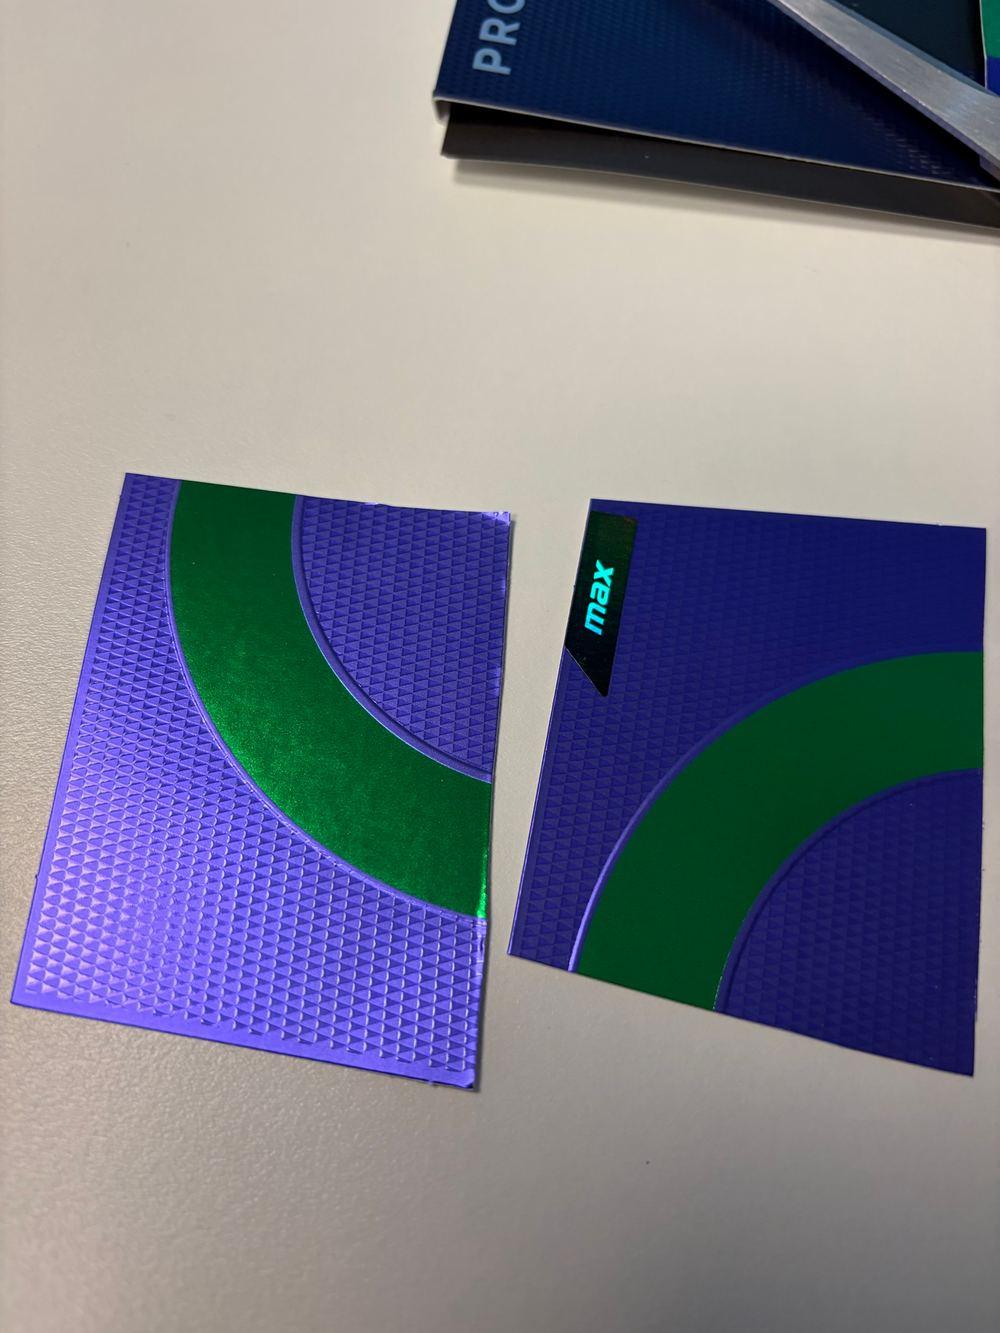
Do not throw away the cover paper that wrapped the rubber: cut it with scissors into two spatulas. Spreading with a paper spatula puts the glue on thinly and evenly, so you do not need to buy a glue sponge.
3. Squeeze out the rubber glue (water-based)
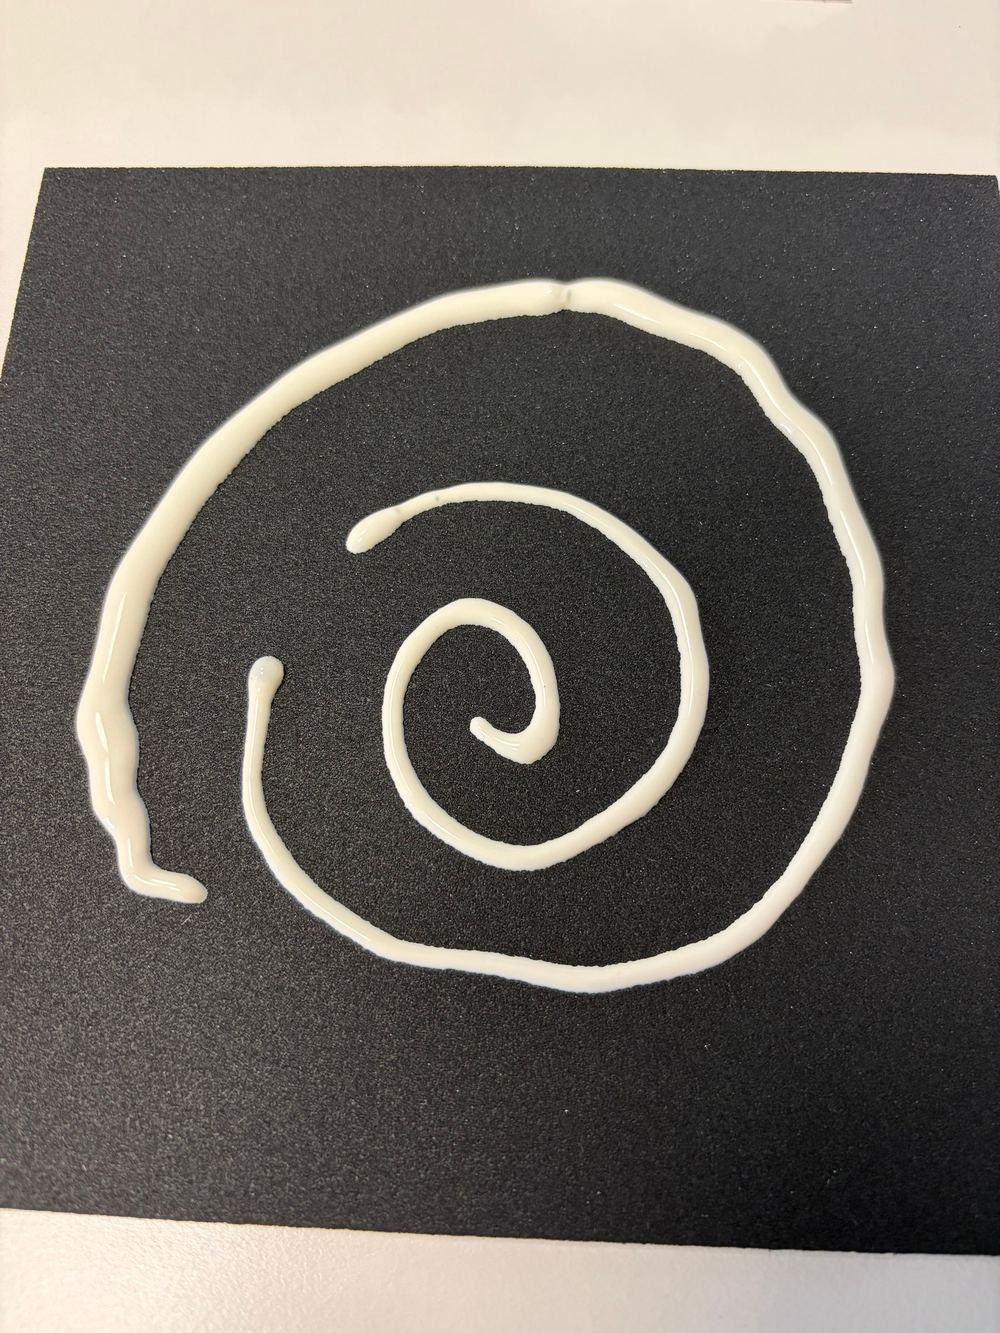
Place the rubber with the sponge side up and squeeze the glue out in a spiral.
To sum up:
- Water-based (latex) rubber glue: it takes time to dry, but it is gentle on the rubber and blade, and it has almost no smell, so it is easy to handle.
- Speed glue (organic solvent): it bonds quickly, but it hardens the sponge and shortens the life of the rubber, and it is a method banned by the rules.
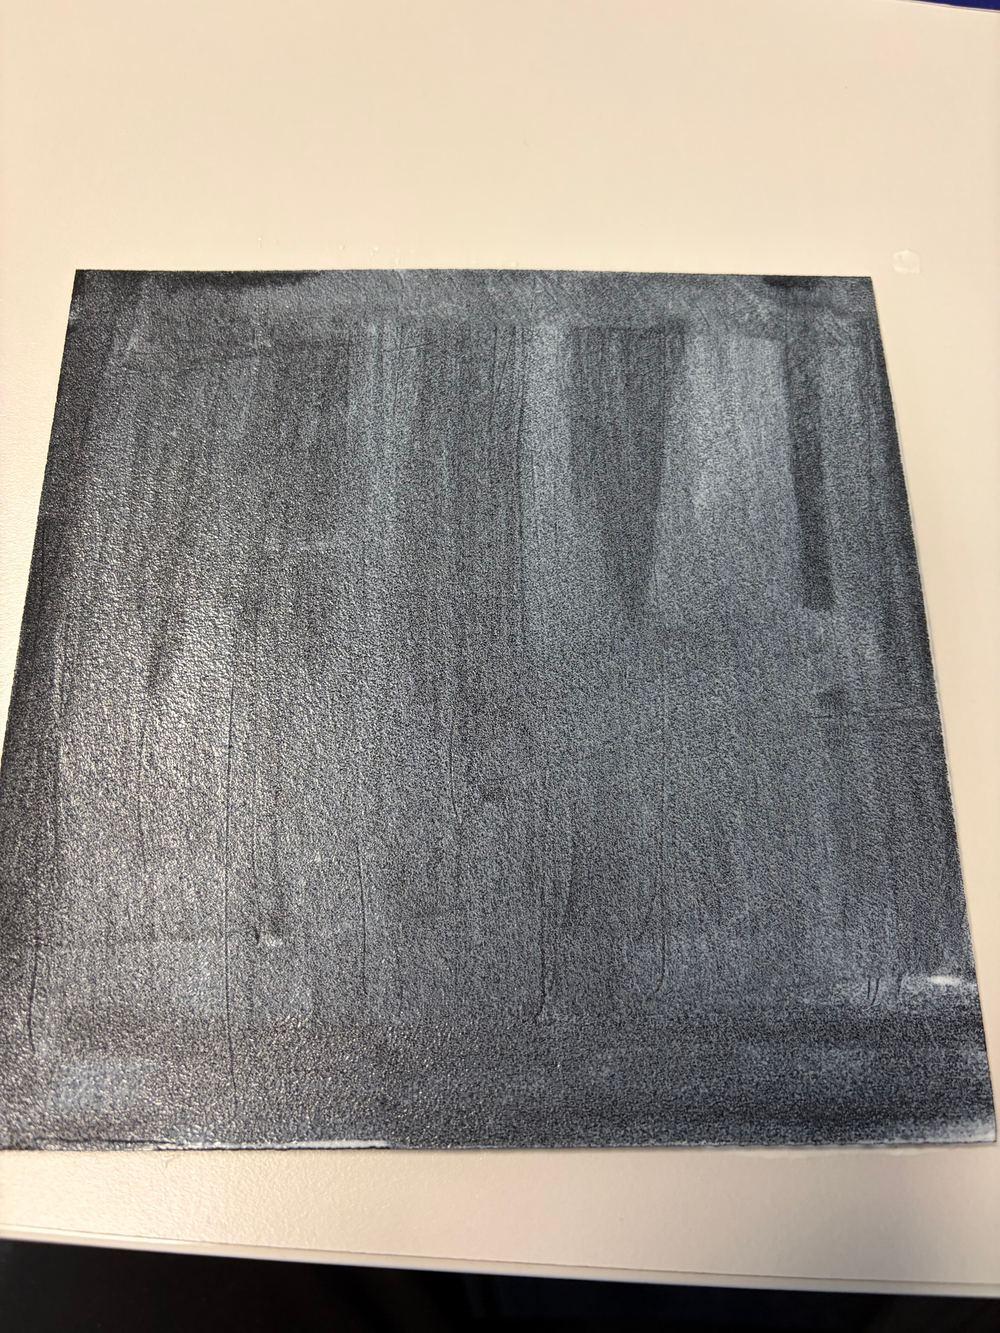
4. First coat: as thin as possible
Do the first coat with the spatulas you made. The point is to apply it as thinly as possible. This step evenly fills the air pores of the sponge, so scrape it on firmly with the spatula so that the sponge soaks up the glue.
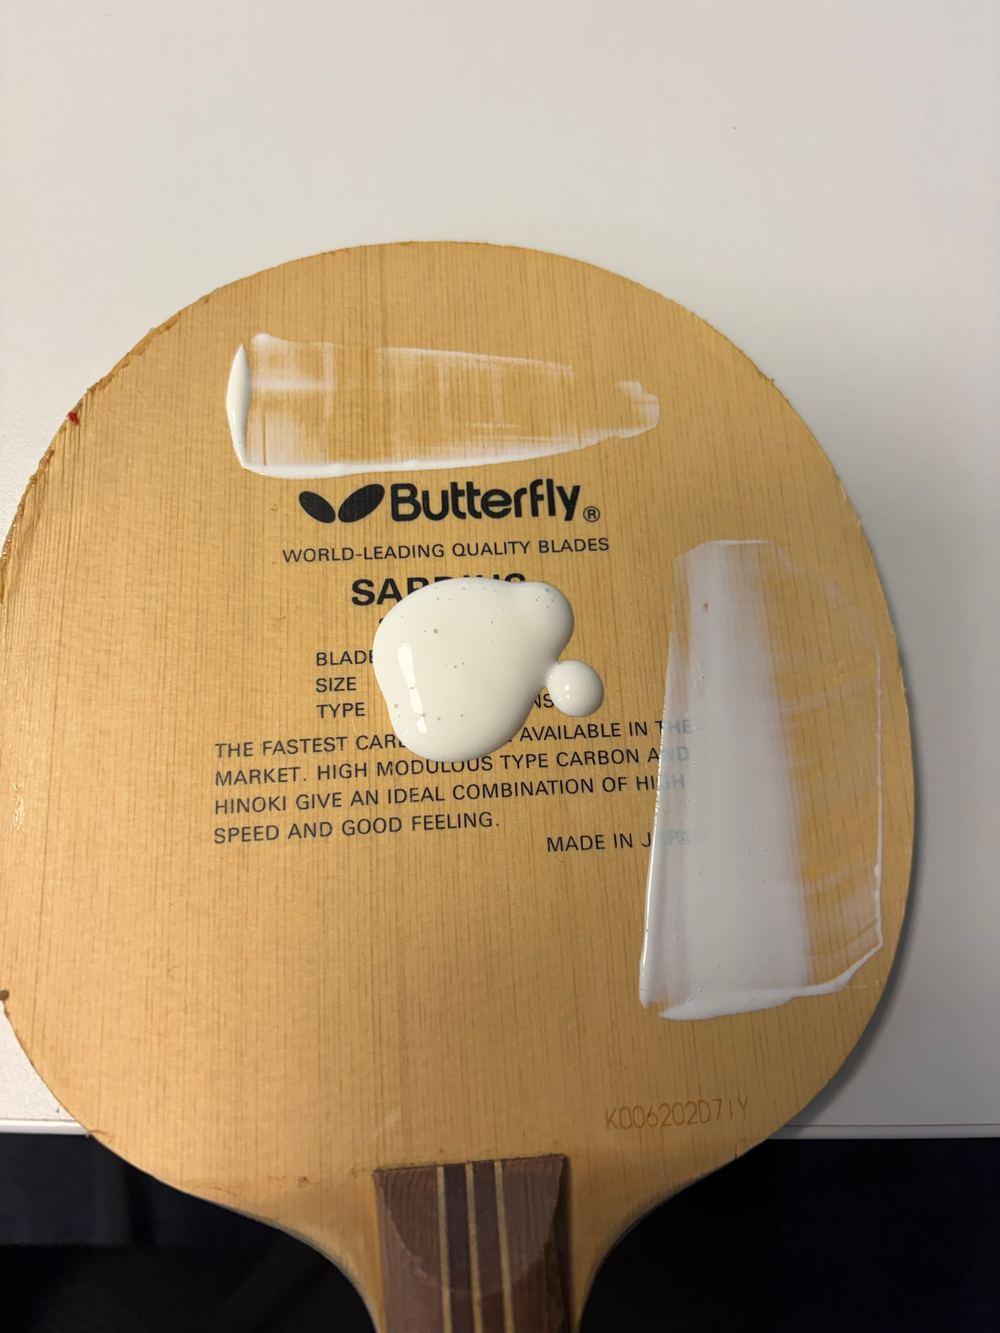
5. Put the leftover glue on the blade
Wipe the glue left on the spatula onto the blade lying next to you. It feels wasteful to throw it away, and leaving it anywhere makes a sticky mess.
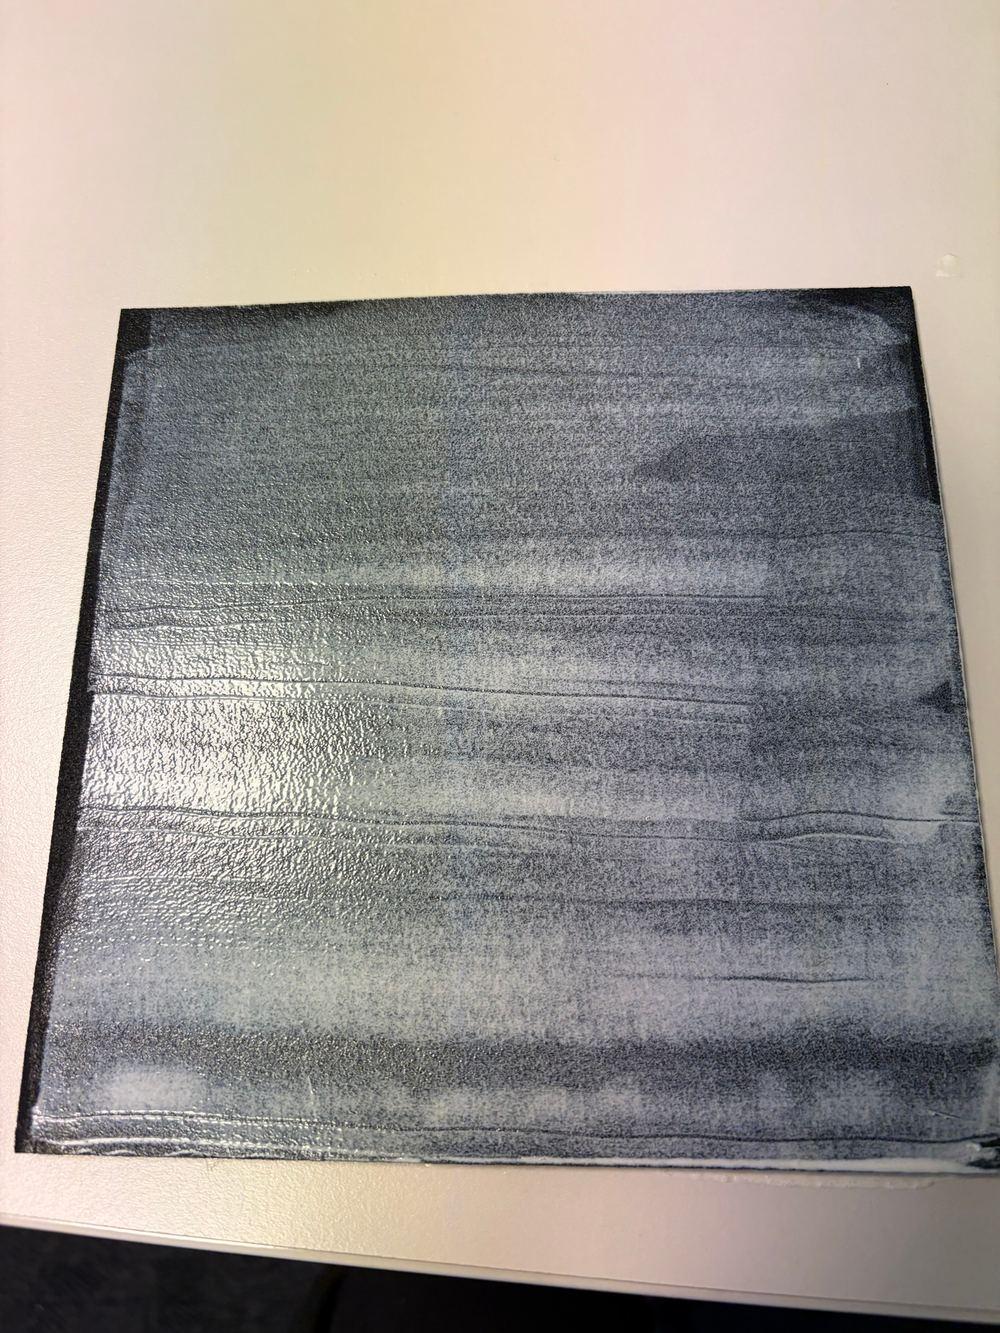
6. Second coat: a little thicker, evenly
The first coat does not have to dry completely. Let it dry roughly and go straight on to the second coat. Apply the second coat a little thicker than the first, but keep the thickness even.
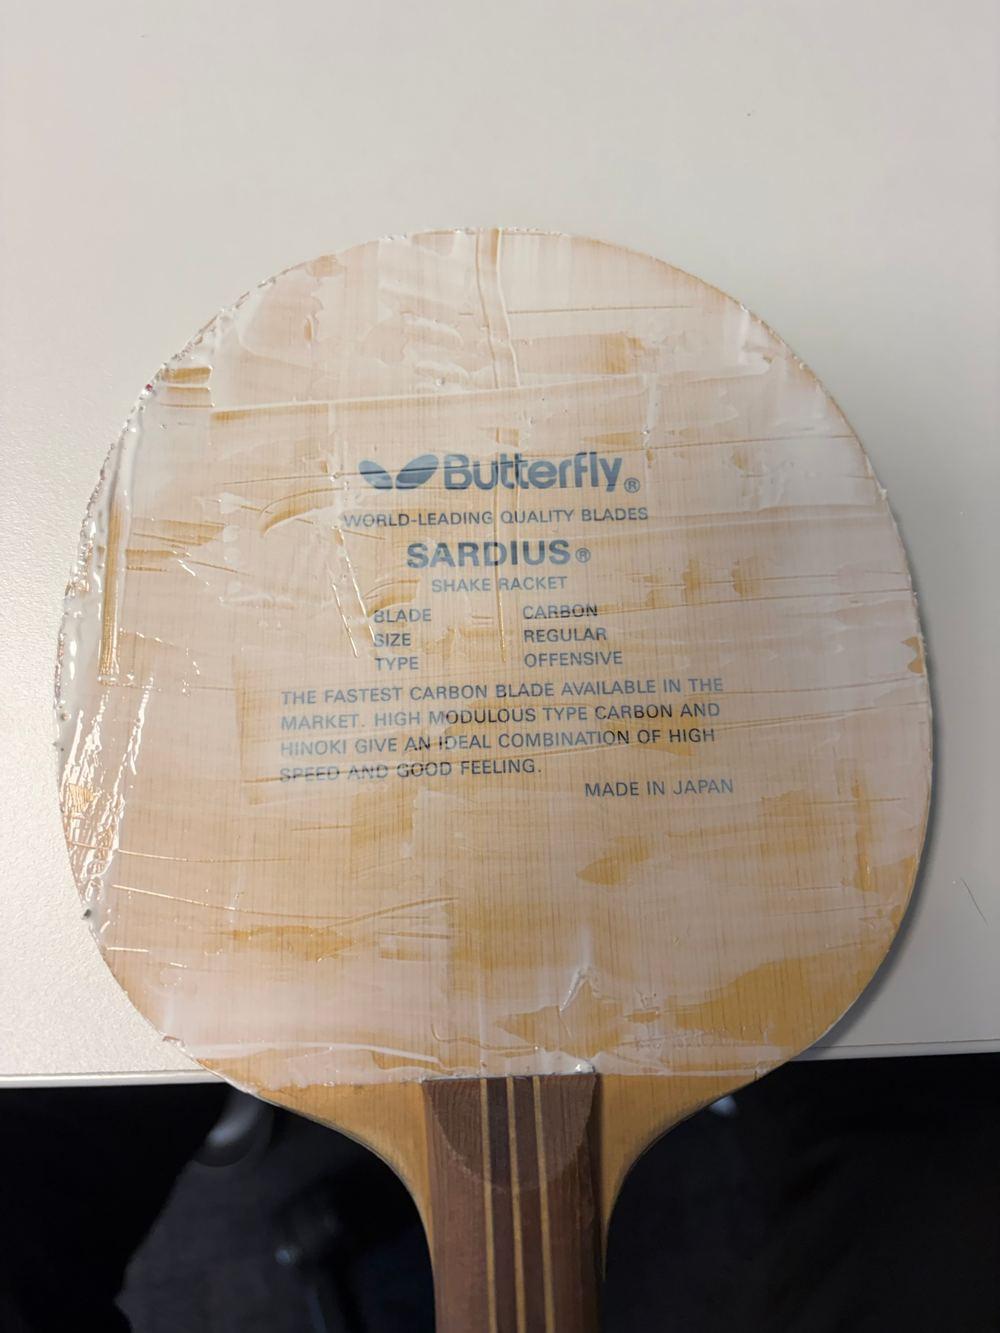
7. Coat the blade too
Spread the glue you set aside on the blade at an even thickness. The paper spatula helps you keep the thickness even. Because the second coat went on a little thick, it takes a bit longer to dry.
8. Throw the used spatulas into the rubber’s packaging bag
Put the used spatulas into the rubber’s plastic packaging and throw them away. That keeps the surroundings clean, and you can work without a drop of glue on your hands or desk.
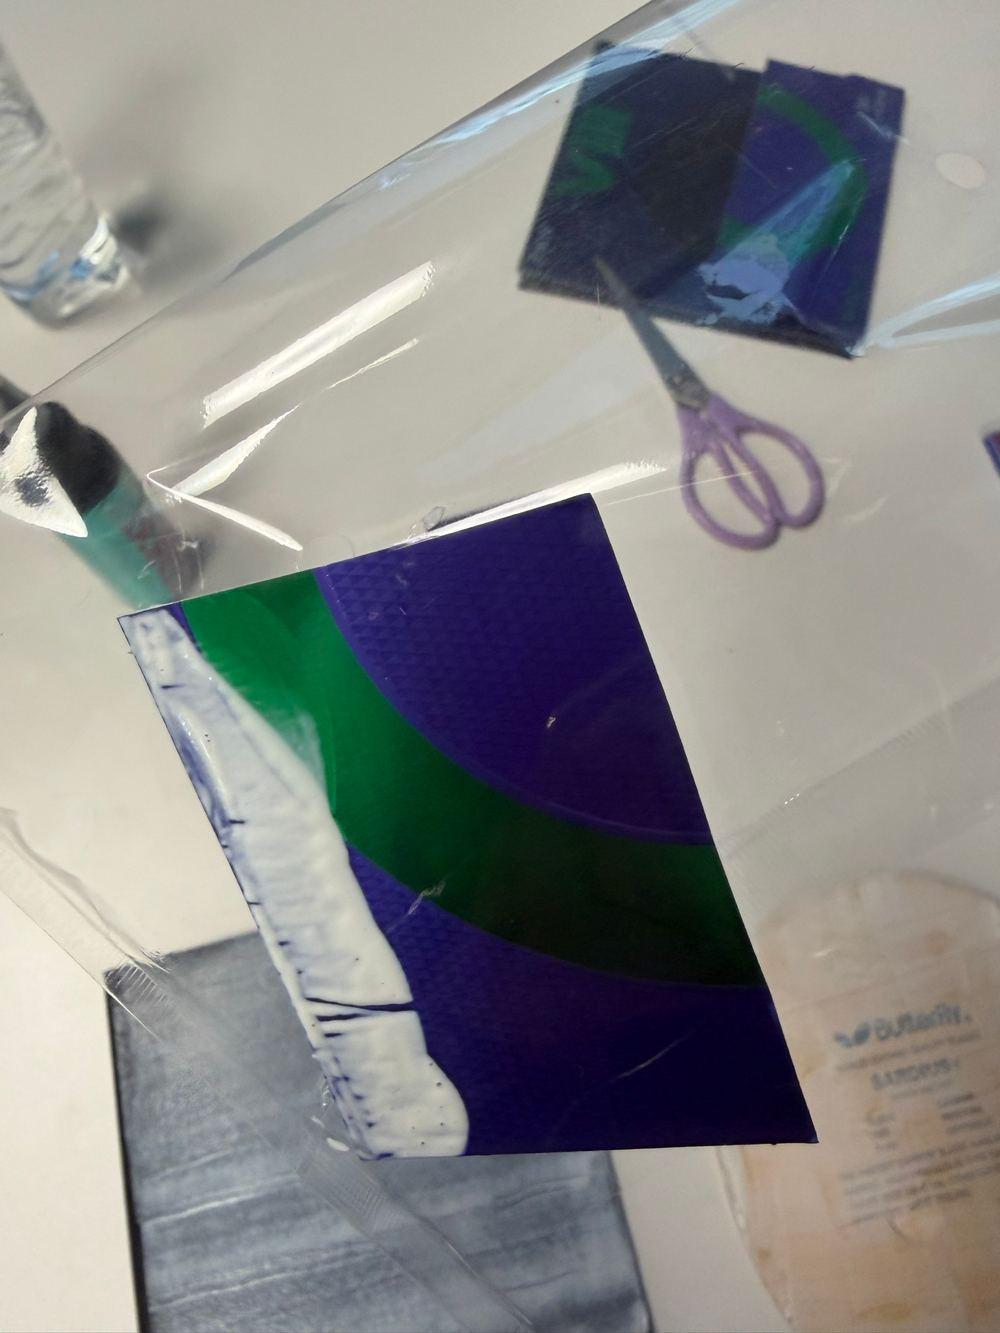
9. Let the glue dry thoroughly
This is the patience part. How long? Dry it until it is completely clear. When you press it with a finger it should be not sticky at all.
- Without a fan, natural drying takes more than 30 minutes. Go and do something else meanwhile.
- You can use a hair dryer or a handheld fan.
- But never make it hot. Heat also hardens the rubber sponge.
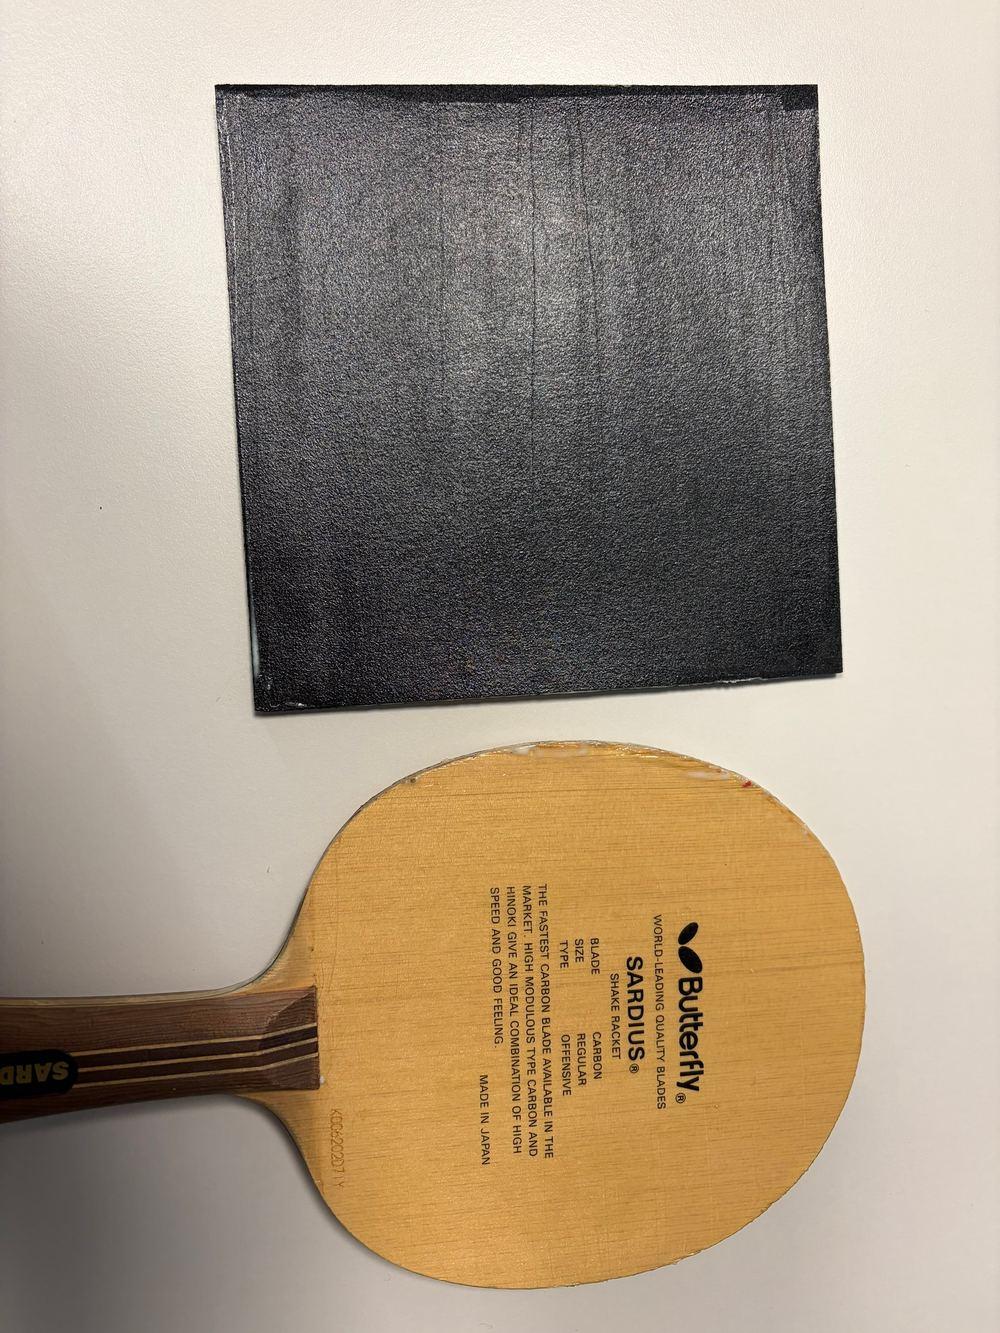
10. Attaching the rubber
Center it and press with your thumb
When the glue is completely dry, it is time to attach. Line the rubber up exactly at the handle side and press it with your thumb.
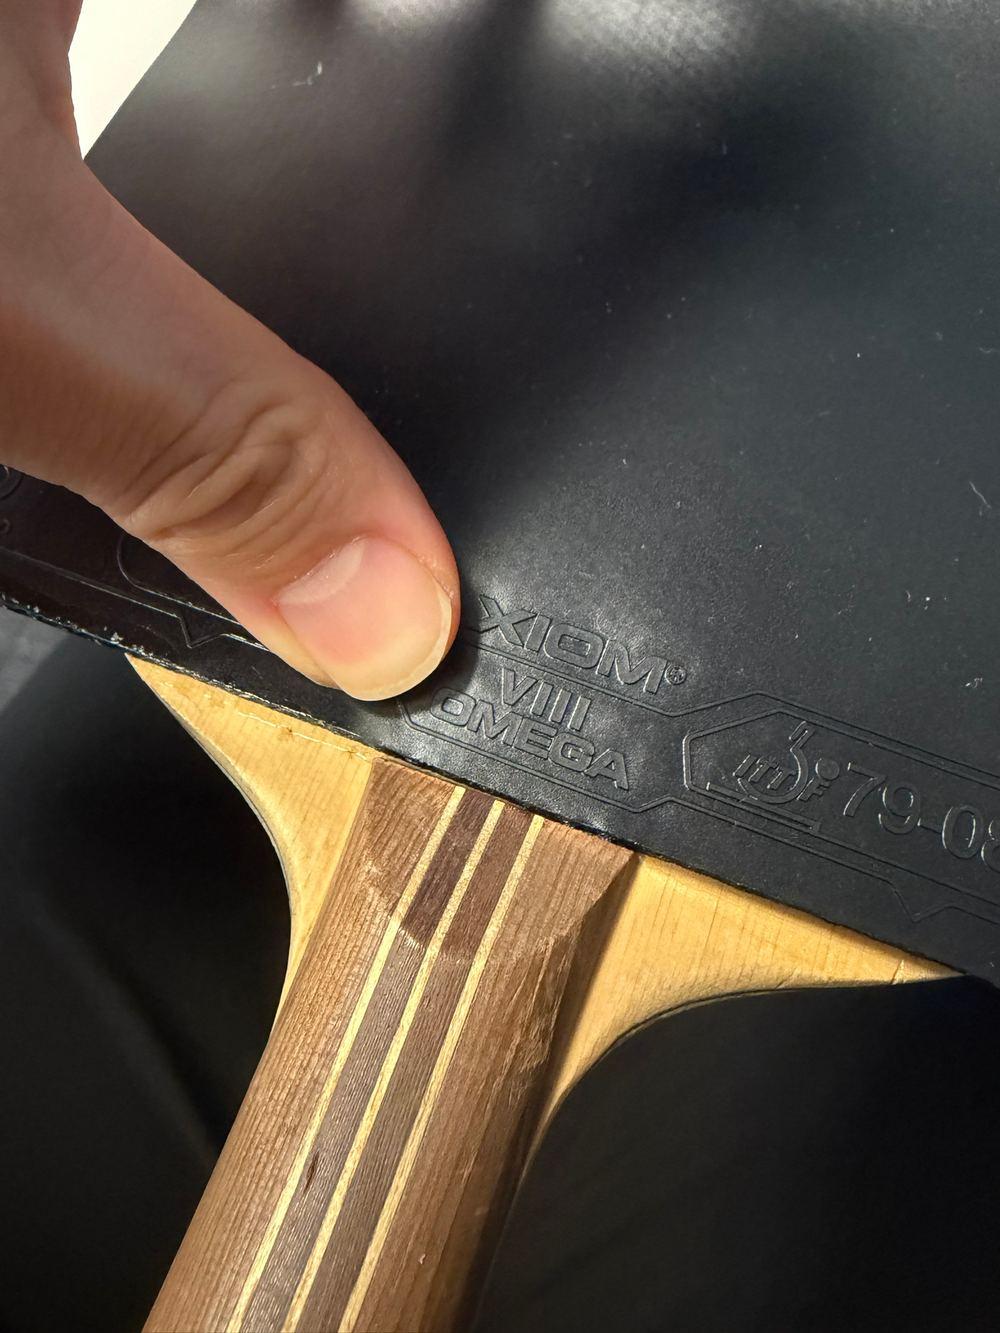
Roll it on gently with a roller
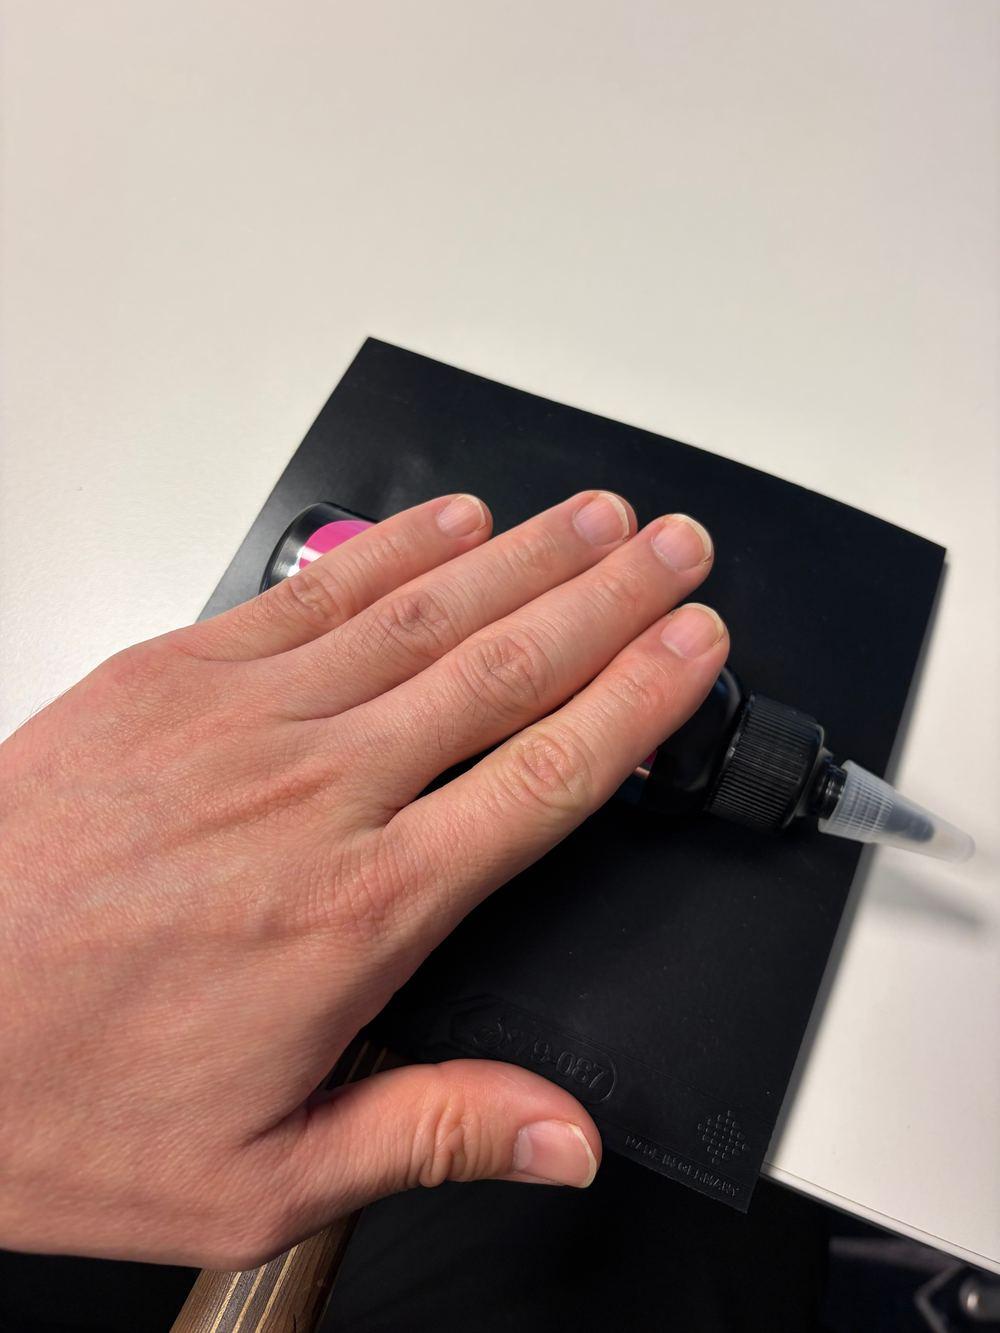
A fully dried rubber curls slightly inward. So roll it on very gently with a roller (I use the glue bottle). If you roll too much, the rubber is stretched when it sticks, so roll only a little, and at this stage never press hard.
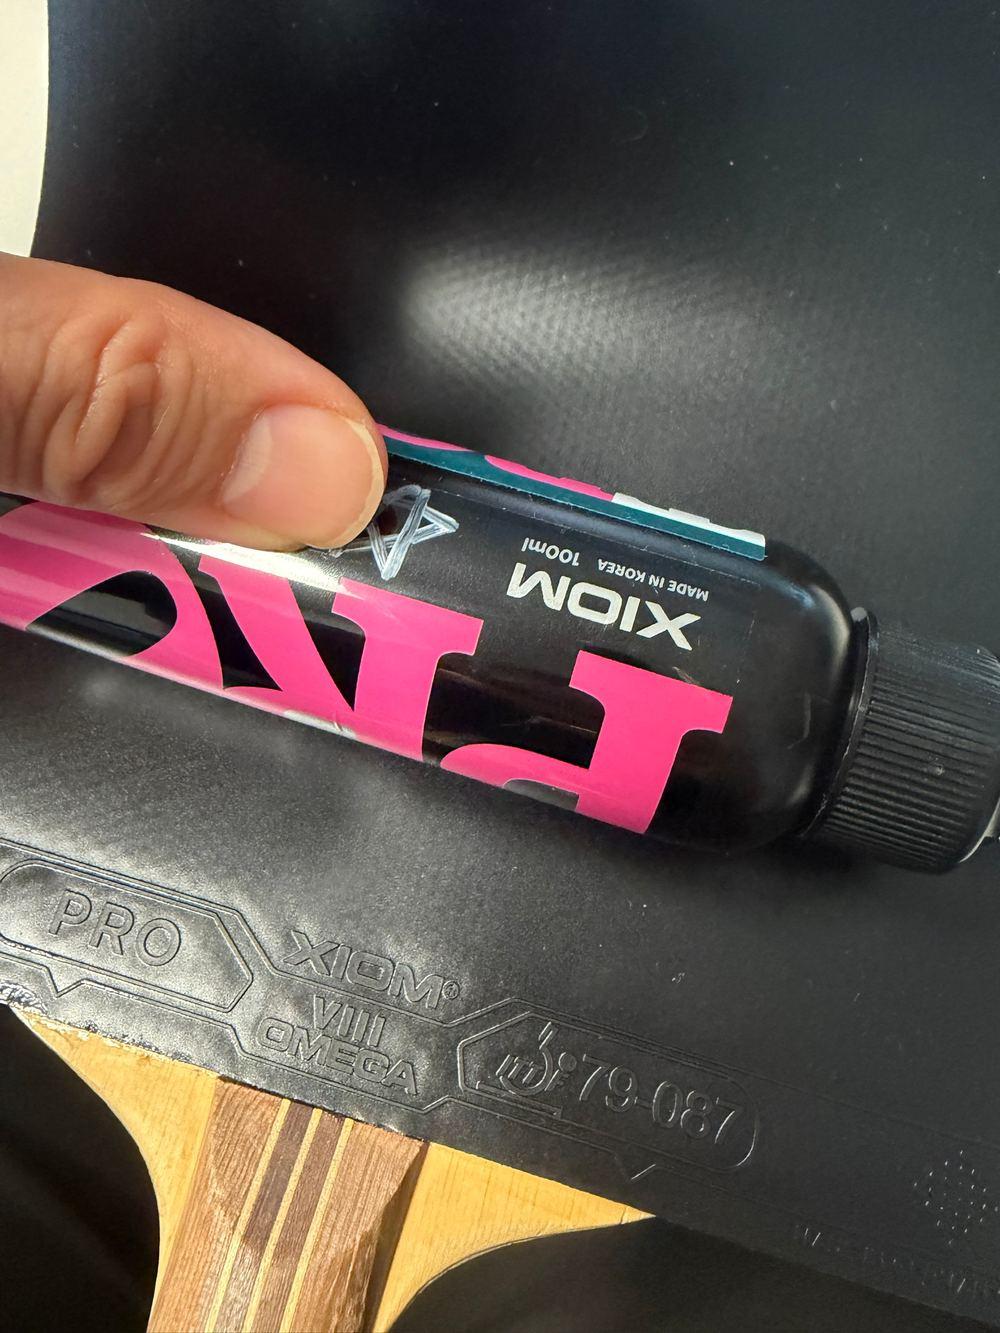
Once it sits, press with more force
When the rubber is sitting well, now push with the roller using a little more force. Even so, if you press too hard the rubber slides, so be careful.
11. Trimming the rubber: cutting cleanly with scissors
Now cut off the excess. Wet the scissors slightly and they cut cleanly. You can use a knife, but I use scissors for safety. They are convenient too, and once you have the knack, scissors cut cleanly enough.
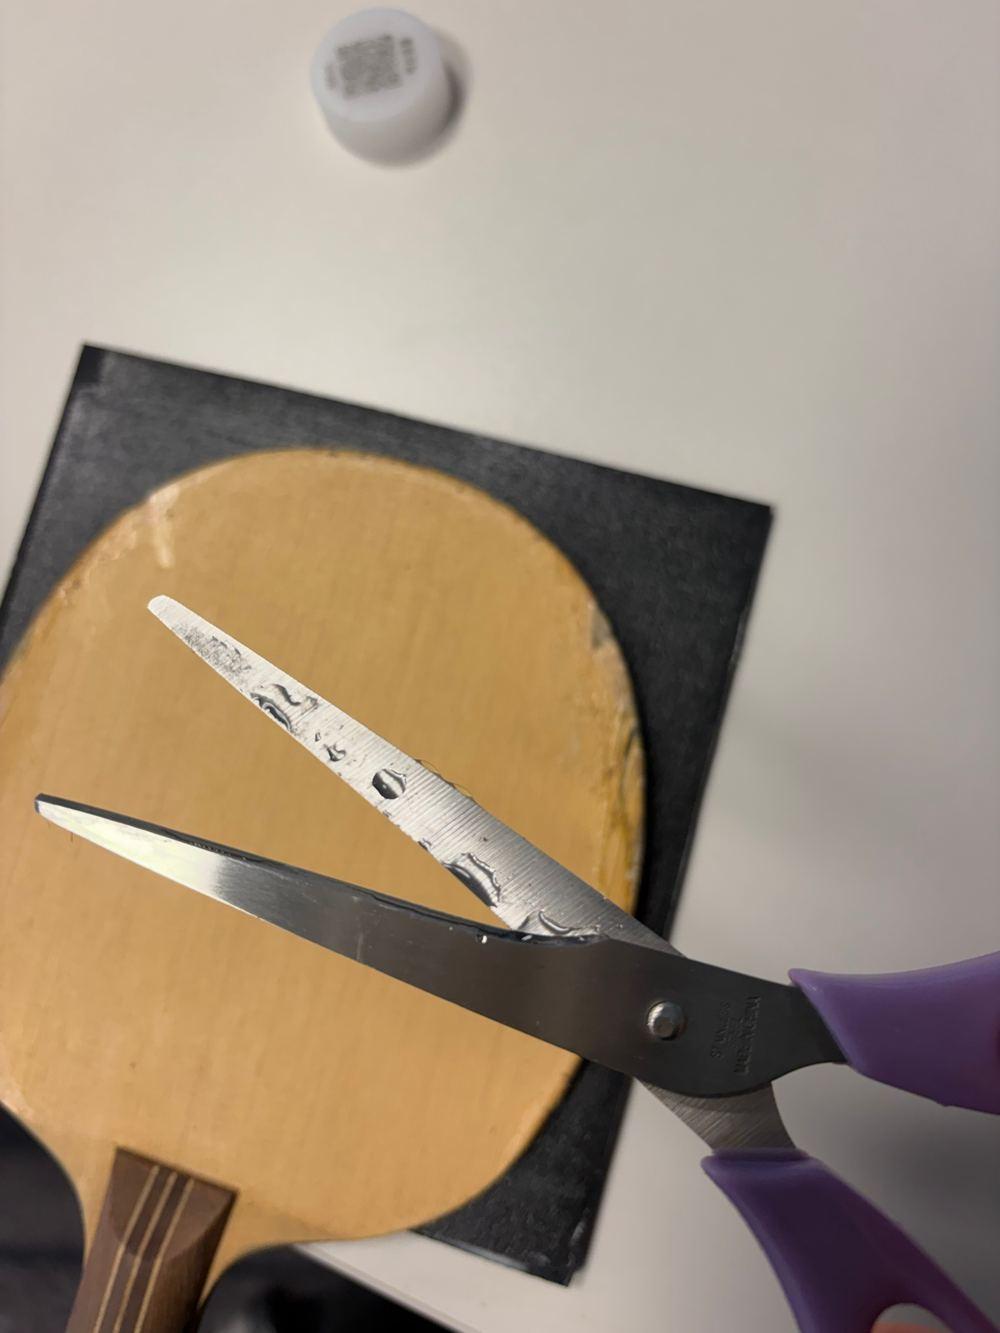
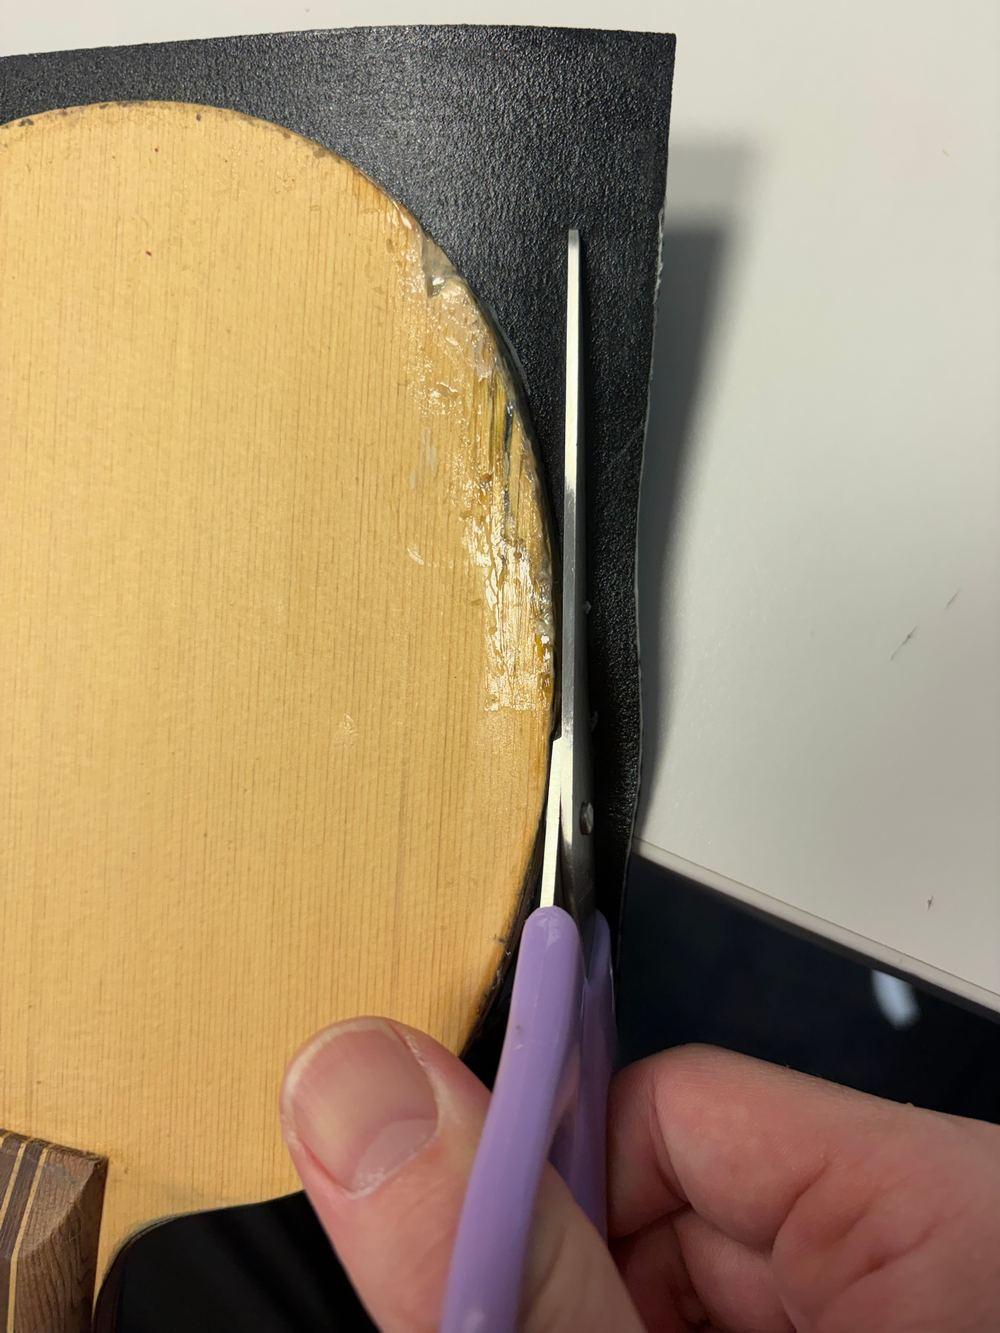
Hold the scissors tight against the edge of the blade and cut a little at a time along the edge.
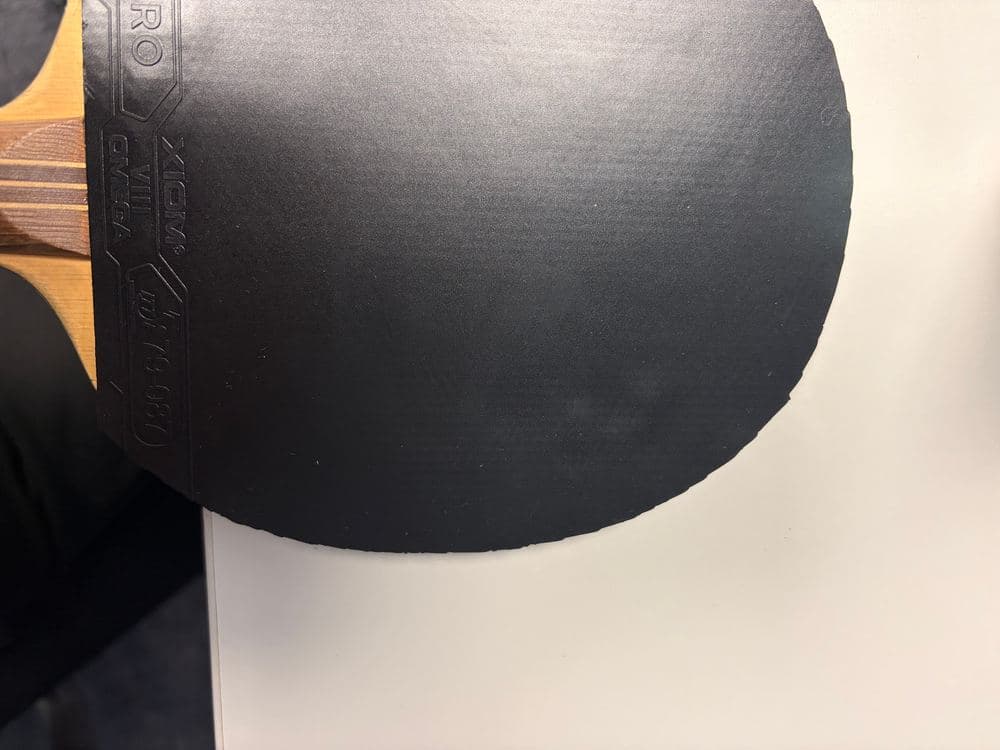
How is that? Quite a clean cut, isn’t it?
12. Finishing
Let it dry a little longer after attaching, and you are done. You will want to play right away, but straight after gluing the edges have not fully set, so leave it for a while before you use it.
5 common mistakes when gluing rubber
- Putting the glue on thick: it only lengthens the drying time and makes the racket heavier. The ball does not go further.
- Attaching before it is dry: wait until it is completely clear and not sticky.
- Drying in a hurry with hot air: the sponge hardens and the rubber loses performance.
- Pressing hard with the roller from the start: the rubber slides or sticks stretched. Roll gently at first and press harder once it sits.
- Adding a third coat or more: two coats are enough.
FAQ
Can I use any water-based glue?
Any water-based glue made for gluing table tennis rubber is fine. Do not use ordinary stationery glue or instant glue.
How long should the glue dry?
Until it is completely clear and not sticky when pressed with a finger. Without a fan, natural drying takes more than 30 minutes, so do something else meanwhile.
Can I cut with a knife instead of scissors?
You can. But it is easy to hurt your hand, so I use scissors to be safe. If you wet the scissors a little, they cut cleanly.
What if the edge lifts after gluing?
You can put a small amount of glue on the lifted part, let it dry thoroughly, and press it down again. Applying a lot at once makes it clump, so apply it very thinly.
Can I reposition a rubber after it is glued?
Try not to glue it again. Peeling it off tears or damages the sponge, and a rubber that has been removed shrinks a little and no longer matches the blade’s size. Even if the position is slightly off, it is better to keep using it and correct it at the next replacement. That is why centering the rubber exactly at the handle when you first attach it is the most important thing.
Rubber care: protective film and cleaner
Rubber slowly oxidizes in the air, so its surface gets hard and its elasticity drops. If you keep protective film on when you are not playing and wipe the surface with a cleaner each time you play, it lasts much longer. I play only about once a week for a short time, so I always use protective film.
When you see these signs, it is time to think about replacing it.
- The surface is slippery and the ball grips less
- With the same stroke, the spin is not what it was
- The surface has turned white or hard
A note: how often to replace rubber
Assuming you play two or three times a week, mostly drives, and look after your rubber with cleaner and protective film, I replace rubber after about 3 to 6 months. I use a backhand rubber a little longer.
My standard is whether the rubber still feels like it keeps about 80% of its original performance. Keeping on using it because it is a waste to throw it away, or because it is still usable, is not a good idea. Playing with a worn rubber dulls your feel as well, so replace it when it seems to have fallen below 80%.
You can’t tell a rubber’s condition from its surface
You cannot tell the condition of a rubber from the top sheet (the surface) alone. You cannot see the sponge underneath, so its performance may be dropping without you noticing. The sponge matters that much in a rubber, which is also why equipment makers spend so much on sponge development.
So I use a good-value rubber and replace it when about 80% is left. Replacing an inexpensive rubber on time keeps performance more consistent than using an expensive rubber for a long time.